GUIDE
How to remove vocals in Audacity
Audacity can strip a centred lead vocal out of a stereo track, and it is free and offline. It also takes the kick and bass with it, and on any mix where the vocal carries stereo reverb — which is most commercial pop — it barely works at all. Here is how to do it, and how to tell in advance whether it is worth trying.
The short answer
Open the stereo file, select the whole track, then Effect → Vocal Reduction and Isolation, set Action to Remove Vocals, and export. Audacity 3.2 reorganised the Effect menu into submenus, so on current versions look under Effect → Special; on 2.x it sits directly in the Effect menu.
That is the whole procedure. The rest of this page is about the part nobody mentions: what the effect is actually doing, and why the instrumental it hands back sounds hollow.
Method 1: the built-in effect
- Import a stereo file.
File → Import → Audio, or drag it into the window. It must be stereo — see the mono note below. - Select everything.
Ctrl+A(Cmd+Aon macOS). - Open the effect. Vocal Reduction and Isolation, from the
Effectmenu — inside theSpecialsubmenu on 3.2 and later, directly in the menu on 2.x. - Set Action to "Remove Vocals". The same dialog can isolate the vocal instead, which is a useful way to hear exactly what is being subtracted.
- Leave Strength at 1.0 for the first pass. Higher cancels more voice and more of everything else with it.
- Set Low Cut for Vocals to around 120 Hz. Content below this is left alone. This one control is what keeps the bass line alive.
- Set High Cut for Vocals to around 9 kHz. Content above is left alone, which preserves cymbals and air.
- Preview, then apply. Export with
File → Export Audio.
Most guides tell you to press OK on the defaults. Low Cut and High Cut define the band the effect is allowed to cancel inside. Narrowing that band to roughly where a voice lives is the difference between a usable backing track and a thin, phasey mess.
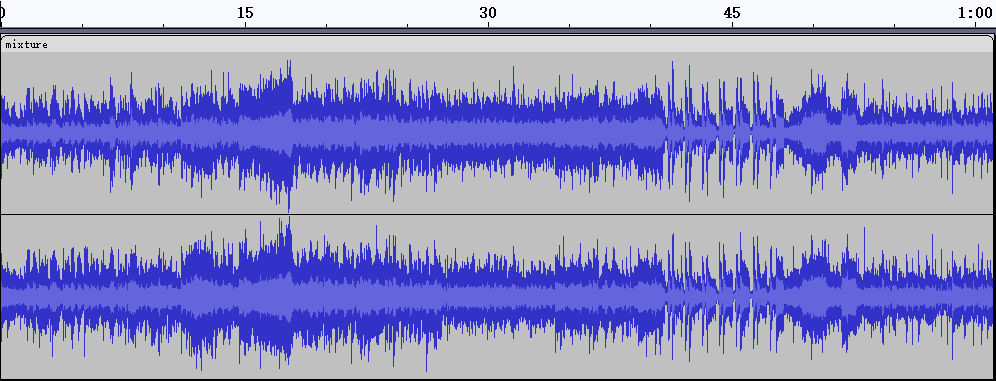
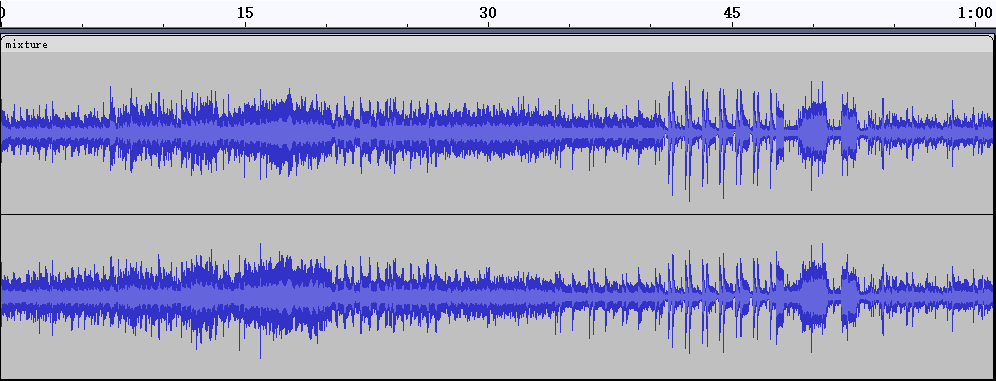
Method 2: the manual version, so you can see the mechanism
The effect is a convenience wrapper around four steps you can do by hand. Doing it manually once makes the limitations obvious.
- Split the stereo track.
Tracks → Mix → Split Stereo Track. You now have two independent mono tracks. - Invert one of them. Select the lower (right) track, then apply Invert, from the same
Effectmenu. - Pan both to centre. Set each track's pan slider to the middle.
- Play it. Anything identical in both channels now sums to silence.
- Render.
Tracks → Mix → Mix and Render.
No frequency guards, no strength control — just subtraction. What you hear is the raw effect, and it is usually worse than Method 1, which is exactly the point.
Why the instrumental loses its low end
Phase cancellation removes whatever is identical in both channels. It does not know what a voice is. In a conventional mix, the lead vocal is not the only thing sitting dead centre:
| Element | Typical placement | Survives cancellation? |
|---|---|---|
| Lead vocal | Centre | No — the intended target |
| Kick drum | Centre | No |
| Bass | Centre, often mono below ~120 Hz by design | No |
| Snare | Centre | No |
| Guitars, keys, backing vocals | Panned wide | Yes |
| Stereo reverb tails | Wide by definition | Yes — including the vocal's |
So "remove the centre" removes the rhythmic and low-frequency backbone along with the voice. Bass is frequently summed to mono below roughly 120 Hz on purpose, to keep playback stable on vinyl and club systems, which makes it the single most reliable casualty. That is what Low Cut is defending.
The other half of the problem is the reverb. The dry vocal cancels; its stereo tail does not. The result is a recognisable artefact: a ghostly vocal reverb with no voice under it, floating over the backing track.
When it will not work at all
The file is mono
There is nothing to subtract against. Audacity draws one waveform lane for a mono track and two for a stereo track — the fastest way to check before wasting time.
The vocal is not centred
Some productions pan the lead slightly off-centre, or double-track it hard left and right. Cancellation then leaves the vocal largely intact while quietly deleting the drums.
The vocal has stereo width or reverb on it
Anything that makes the left and right versions of the voice differ makes cancellation partial. A stereo reverb or a doubled take is enough, and both are standard on a modern lead vocal — which is why the 30-second test below matters more than any setting.
The source is a low-bitrate lossy file
Joint-stereo encoding at low bitrates can alter the relationship between channels enough that the two sides no longer cancel cleanly. Start from the highest-quality file you have.
A 30-second test before you commit
Use the mechanism itself as a diagnostic. Do Method 2 steps 1–4 — split, invert one side, centre both, press play — and listen:
- The vocal disappears cleanly. Cancellation will work on this track. Go and do it properly with Method 1 so you keep the bass.
- You hear a reverby vocal ghost. It will not work. The dry voice cancelled, the wet tail did not, and no setting fixes that.
- The vocal is still clearly there. It is not centred. Cancellation is the wrong tool.
- Almost everything vanishes. The file is effectively mono.
Thirty seconds of listening saves an hour of fiddling with Strength.
What to use when cancellation is not enough
The limitation is structural, not a settings problem. Phase cancellation is subtractive: it can only remove what the two channels have in common, so it can never isolate a voice it cannot geometrically locate.
AI source separation works differently. A model trained on many hours of music learns what a voice sounds like and rebuilds each stem independently. Because it recognises rather than subtracts, it handles mono files, off-centre vocals and heavy reverb — the exact cases where Audacity gives up. The cost is compute rather than a menu option.
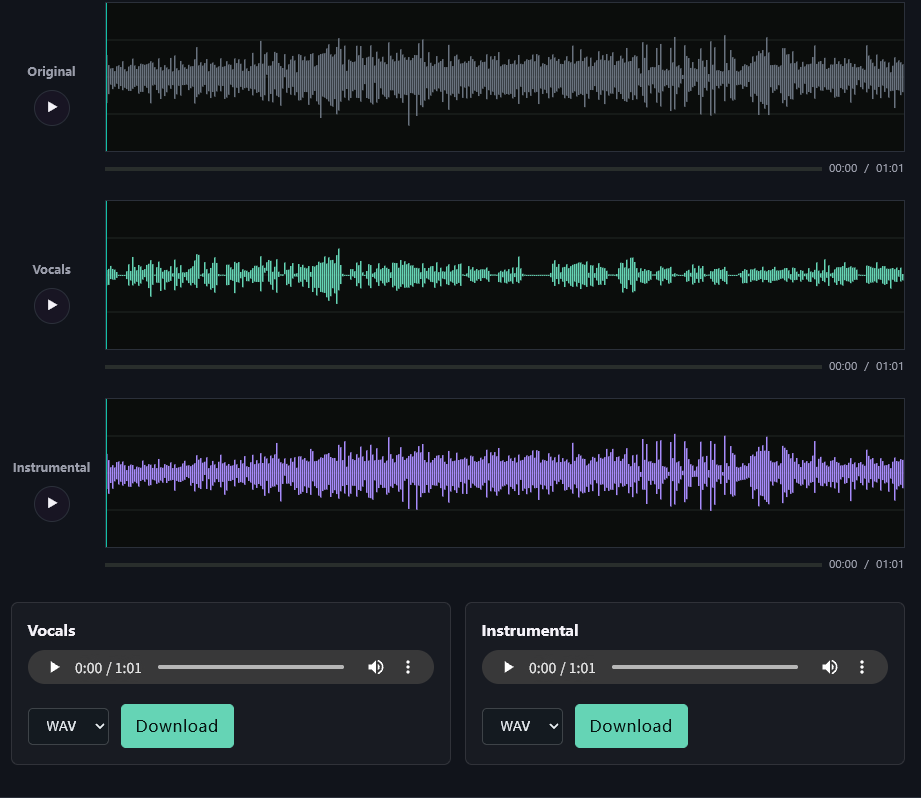
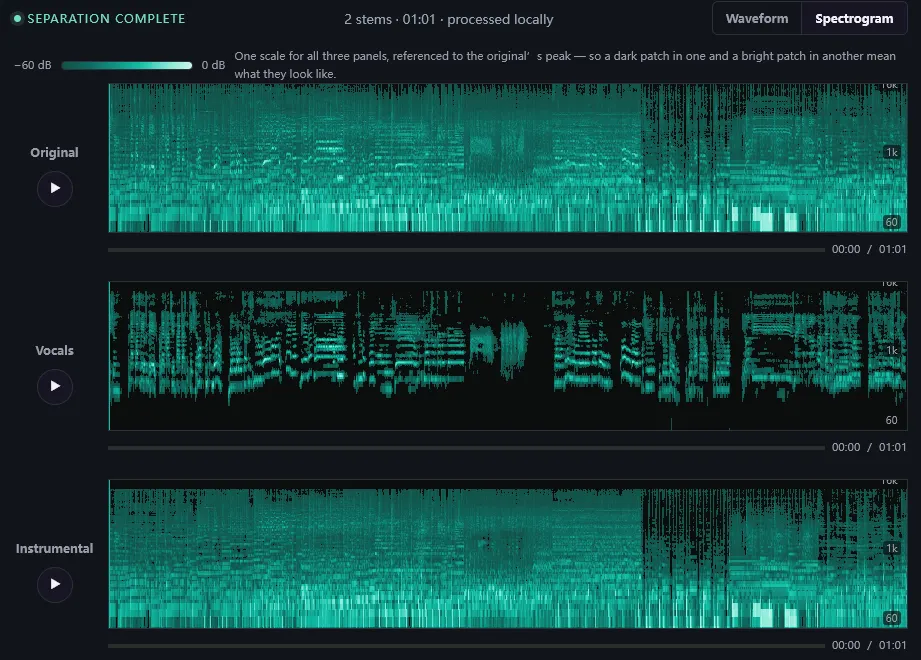
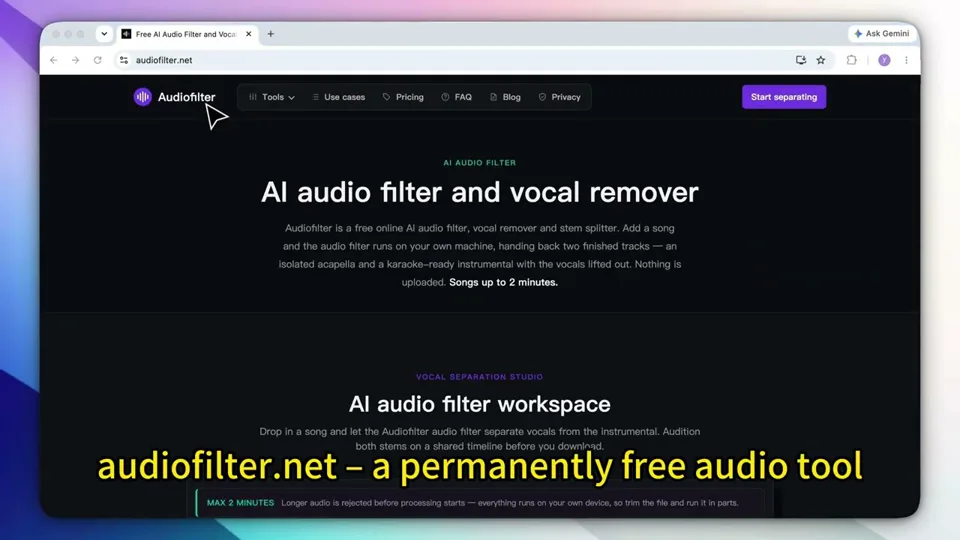
Audiofilter's AI vocal remover runs a separation model inside the browser tab and hands back an isolated acapella and a karaoke-ready instrumental. No account, and nothing is uploaded — the processing happens on your own machine, so the file never leaves it. You can watch the network tab and see for yourself.
It takes tracks up to five minutes, which is a limit of doing the work in a browser tab rather than a paywall. For a full song, select the section you need in Audacity and export just that with File → Export Audio, then feed it in.
Frequently asked questions
Does Audacity have an AI vocal remover?
No. Vocal Reduction and Isolation is phase cancellation: it subtracts whatever is identical in the left and right channels. It has no model of what a voice is, which is why it cannot separate a vocal that is not centred, and why it takes the kick and bass with it.
Why does my instrumental sound thin after removing the vocals?
Because the lead vocal is not the only thing panned to the centre. Kick, bass and snare usually sit there too, and bass is often deliberately mono below about 120 Hz. Cancelling the centre removes them along with the voice. Raising Low Cut for Vocals to around 120 Hz spares the bass region, at the cost of leaving some vocal low-mids behind.
Can I remove vocals from a mono file in Audacity?
No. Phase cancellation needs two channels that differ. A mono file has nothing to subtract against, so there is no centre to remove. Audacity shows one waveform lane for a mono track and two for a stereo track, which is the quickest way to check.
What Strength setting should I use?
Start at 1.0 and listen for the trade. Higher values cancel more of the vocal but also more of everything else in the centre, so the instrumental loses punch. Lower values keep the drums intact but leave the vocal audible. There is no setting that removes only the voice, because the effect cannot tell the difference.
Is there a free way to remove vocals that handles reverb?
Yes, but not through cancellation. AI source separation is trained to recognise a voice, so it works on mono files, off-centre vocals and reverb-heavy mixes, and it rebuilds each stem rather than subtracting one from the other. Audiofilter runs a separation model in the browser for tracks up to five minutes with nothing uploaded.
Cleaning up a recording rather than a song?
Open the noise reducer → Open text to speech →